
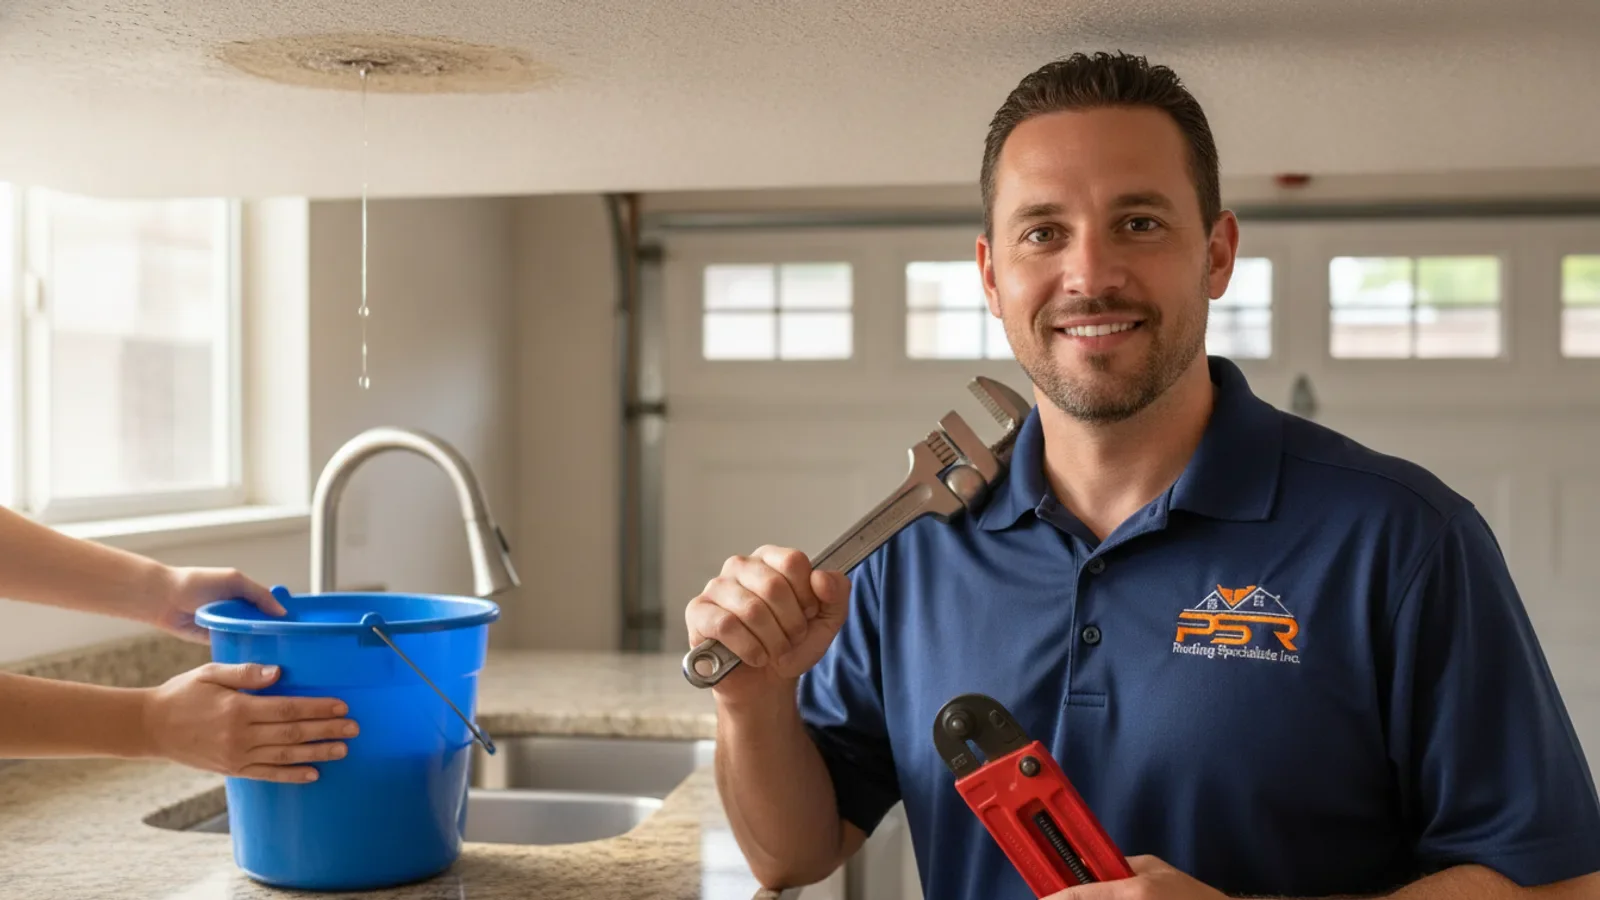
How to Handle an Active Roof Leak in Hollywood, Florida
A sudden roof leak during a South Florida downpour can trigger immediate panic. In Hollywood, Florida, where intense tropical storms and summer afternoon deluges are common, water intrusion can quickly compromise your drywall, flooring, and personal belongings. Knowing how to react in the first few hours of a leak can mean the difference between a simple patch and an incredibly expensive structural restoration. This guide outlines the immediate, practical steps you must take to minimize damage to your Broward County property before calling a professional roof repair company to permanently resolve the issue.
The Myth of the Quick DIY Roof Patch
Why Temporary Sealants Often Fail in South Florida
Many homeowners run to the nearest hardware store for a can of spray sealant or a tub of roofing cement the moment they spot a drip. In Hollywood, Florida, the extreme heat, high humidity, and intense UV radiation make these quick fixes highly unreliable. Standard store-bought sealants often crack, peel, or shrink within days of application when exposed to the subtropical sun. Applying these materials over wet shingles or saturated concrete tiles prevents them from bonding properly, which can trap moisture underneath and accelerate wood rot in your roof deck.
The Hidden Hazards of Unprofessional Roof Walking
Stepping onto a wet, leaking roof is exceptionally dangerous. Slippery clay tiles, algae growth, and compromised structural decking can easily lead to falls. Concrete and clay tiles, which are very common across Broward County, are fragile and can easily crack under the weight of an inexperienced walker, creating even more entry points for rainwater. If you suspect your roof structure is bowing or soft, stay off it entirely and leave the physical assessment to a licensed professional who has the safety harnesses and specialized footwear required for high-pitch surfaces.
How Improper Repairs Can Void Your Warranty
Using improper sealants, tarps, or nailing methods can inadvertently void your existing roof warranty. Many shingle and tile manufacturers require specific installation techniques and certified materials to maintain coverage. Additionally, your homeowner's insurance policy may reject a subsequent water damage claim if they find that negligent or unpermitted DIY work worsened the interior damage. It is always safer to focus your immediate energy on protecting your home's interior while leaving the exterior structural work to a certified team.
Step 1: Immediate Interior Damage Control
Contain the Water Flow Instantly
Your absolute first priority is to stop water from spreading across your ceilings, walls, and floors. Place a heavy-duty bucket, plastic tub, or trash can directly beneath the drip. To eliminate the loud, disruptive splatting sound of water hitting plastic, pin a long piece of string or a cotton towel to the rim of the container and let it drape down to the bottom. The water will run down the fabric silently, helping you maintain peace of mind while you coordinate your next steps.
Relieve Ceiling Water Pressure Safely
If you notice a bulging puddle forming under your ceiling drywall, the water is pooling on top of the gypsum board. If left alone, the weight of this water will eventually cause a large chunk of the ceiling to collapse unexpectedly. Take a small screwdriver or a drill and carefully poke a hole directly in the center of the damp bulge. Keep a large bucket underneath the spot before you puncture it. This controlled release relieves the hydraulic pressure, channels the water into your bucket, and prevents the drywall from sagging and tearing over a wider area.
Protect Your Electronics and Furniture
Water conducts electricity, making active leaks near outlets, light fixtures, or electronic entertainment centers highly hazardous. If water is dripping near or through a light fixture, turn off the electrical breaker for that specific zone immediately. Move all laptops, televisions, documents, and valuable furniture pieces to another room. Cover any heavy, non-movable items with thick plastic sheeting or heavy-duty trash bags to shield them from unexpected plaster splatters or secondary drips.
Step 2: Tracking the True Source of the Leak
The Deceptive Path of Water Intrusion
Water rarely travels in a straight line. Where you see a drip in your ceiling is rarely the exact spot where water is penetrating your outer roof barrier. Rainwater typically enters through a broken tile, damaged flashing, or worn shingle, runs down the sloped plywood decking, drops onto an attic joist, and finally seeps down into your ceiling drywall. To find the true entry point, you must trace the path upward and outward from the ceiling spot.
How to Safely Inspect Your Attic
If your home has a safe, accessible attic hatch, grab a powerful flashlight and carefully step onto the ceiling joists (never step directly onto the drywall between the joists, as you will fall through). Look for wet insulation, dark water stains on the underside of the roof deck, or mold growth. If it is currently raining, look for the reflective shimmer of running water along the rafters. Follow the wet trail up to its highest point on the roof deck and note its position relative to chimneys, vents, or valleys on the outside of your house.
Common Penetration Points to Check
If you cannot access the attic, you can conduct a ground-level visual inspection using binoculars. Pay close attention to these high-risk areas:
Valleys: The channels where two roof slopes meet carry the highest volume of water and are prone to wear.
Plumbing Boots: The rubber seals around your white PVC plumbing vent pipes dry rot quickly under the hot Hollywood sun.
Flashing: The metal strips installed around chimneys, skylights, and dormer walls can pull away or rust over time.
Drip Edges: Metal flashing along the edges of your roof can corrode, allowing wind-driven rain to blow upward under the starter shingles.
Step 3: Documenting the Damage for Your Insurance Claim
Take Comprehensive Photos and Videos
Before you clean up any standing water or wipe down damp surfaces, document everything. Take clear, well-lit photos and videos of the active drip, the saturated drywall, damaged furniture, warped flooring, and any ruined personal items. Document the exterior of your home as well, capturing any visible damage to your shingles or tiles from the ground. This real-time visual evidence is critical when filing a claim with your homeowner's insurance company.
Keep an Organized Damage Log
Create a dedicated digital folder or notebook to log all details of the leak. Write down the exact date and time the leak started, the weather conditions at the time, and a list of all affected items with their approximate purchase dates and values. Keep receipts for any emergency supplies you purchase, such as buckets, plastic tarps, or fans. Your insurer may reimburse you for these temporary mitigation expenses if they are documented properly.
Understand Your Mitigation Obligations
Almost every standard homeowner's insurance policy in Florida contains a "duty to mitigate" clause. This means the homeowner is legally obligated to take reasonable, safe steps to prevent further damage to the property after a leak is discovered. Failing to place buckets, dry out standing water, or contact a professional emergency roofing service in a timely manner can give insurance adjusters a reason to deny coverage for secondary damage, such as widespread mold growth or rotted structural framing.
Step 4: Choosing the Right Mitigation and Repair Partner
What to Look for in a Broward County Contractor
When searching for a local partner to perform a permanent roof repair, you must verify their credentials carefully. Florida has strict licensing requirements for roofing professionals. Ensure the contractor holds an active, certified roofing license through the Florida Department of Business and Professional Regulation (DBPR). They must also carry comprehensive general liability and worker's compensation insurance to protect you from liability if an installer is injured on your property.
| Verification Step | What to Ask For / Look Up | Why It Matters in Hollywood, FL |
|---|---|---|
| License Check | Ask for their CC or CCC license number and verify it on the DBPR portal. | Protects you from unpermitted work that will fail local building inspections. |
| Insurance Proof | Request certificates of liability and worker's compensation sent directly from their broker. | Ensures you are not financially responsible for accidents on your roof. |
| Local Office | Verify their physical address in or near Broward County. | Guarantees they will be available to honor their warranty after storm season ends. |
Red Flags of Out-of-State "Storm Chasers"
After heavy windstorms or hurricanes, out-of-state contractors often flood South Florida offering quick fixes and door-to-door sales pitches. Be wary of companies that use aggressive high-pressure sales tactics, demand large upfront cash deposits before any materials arrive, or refuse to provide a local physical business address. Stick with an established local roof repair company that understands the specific demands of the Florida Building Code, which is one of the strictest wind-resistance codes in the nation.
The Value of a Comprehensive Roof Inspection
A reputable local roofing team will not simply slap a patch on your roof without understanding the bigger picture. They will perform a meticulous roof inspection to determine if the leak is an isolated failure or a sign of systemic age-related wear. An inspection ensures that every underlying issue, including water-damaged decking, compromised underlayment, and loose structural fasteners, is identified and addressed during the repair process.
Step 5: Professional Repair Methods vs. Temporary Band-Aids
How Professionals Fix Tile and Shingle Roofs
Temporary fixes rely on caulks and tarps, but a professional, permanent roof repair hollywood fl requires a systematic tear-off and rebuild of the affected area. For a shingle roof, this involves removing the damaged shingles, stripping away the compromised underlayment, replacing any rotted plywood deck sections, installing a self-adhering water barrier, and weaving in new shingles that match your existing roof. For concrete or clay tiles, the tiles must be carefully removed, the underlying waterproof membrane replaced, and the tiles reinstalled with code-compliant adhesives or screws.
The Crucial Role of Underlayment
In South Florida, your outer shingles or tiles are actually your secondary line of defense against water. The real waterproofing happens at the underlayment level. Modern building codes in Broward County require high-performance synthetic underlayments or self-adhering modified bitumen membranes (often called "peel-and-stick"). These membranes seal tightly around nail penetrations, ensuring that even if wind-driven rain gets past your tiles during a storm, water cannot reach your wooden attic deck.
When to Transition to a Full Replacement
If your roof is reaching the end of its natural lifespan (typically 15 to 20 years for asphalt shingles, or 25 to 30 years for tile underlayments), repeated spot repairs may no longer be cost-effective. If your roof deck has extensive structural rot, or if the roof has suffered widespread wind damage, your contractor may recommend a complete roof replacement. A new roof installation provides long-term peace of mind, improves your home's energy efficiency, and can significantly lower your annual homeowner's insurance premiums in Florida.
Preventing Future Water Intrusion
The best way to handle a roof leak is to prevent it from happening in the first place. Scheduling regular preventative maintenance, keeping your gutters clear of debris, and trimming overhanging tree branches can significantly extend the lifespan of your roof. For more detailed advice on managing your home's drainage systems, check out our guide on the importance of professional gutter installation to keep water flowing safely away from your home's foundation.
Frequently Asked Questions
How long can I wait to fix an active roof leak?
You should address an active roof leak immediately. Even a small, slow drip can cause structural wood rot, destroy ceiling plaster, and foster rapid mold growth in South Florida's humid environment within 24 to 48 hours. Quick containment and professional intervention are essential.
Will my homeowner's insurance cover a roof leak repair?
It depends on the cause of the leak. Insurance typically covers sudden, accidental damage from storm events, falling tree limbs, or wind. However, policies generally exclude coverage for leaks caused by gradual wear, lack of maintenance, or age-related deterioration.
Can a roof leak be repaired from the inside?
No. Attempting to seal a leak from inside your attic or room will only trap water within your ceiling and roof structure, accelerating wood rot and mold. Permanent repairs must always be performed on the exterior of the roof to stop water before it enters the structure.
How can I find the leak if it only drips during heavy rain?
Wind-driven rain can force water into tiny cracks or gaps that remain dry during normal showers. A professional inspector can perform a controlled water test or use specialized infrared thermal imaging cameras to track moisture paths that are invisible to the naked eye.
Protect Your Hollywood Home from Water Damage
When water is actively dripping into your living room, every minute counts to protect your property and your family. Reach out to PSR Roofing Company of Hollywood to schedule your roof inspection today and get a professional, code-compliant solution to protect your home for the long haul.